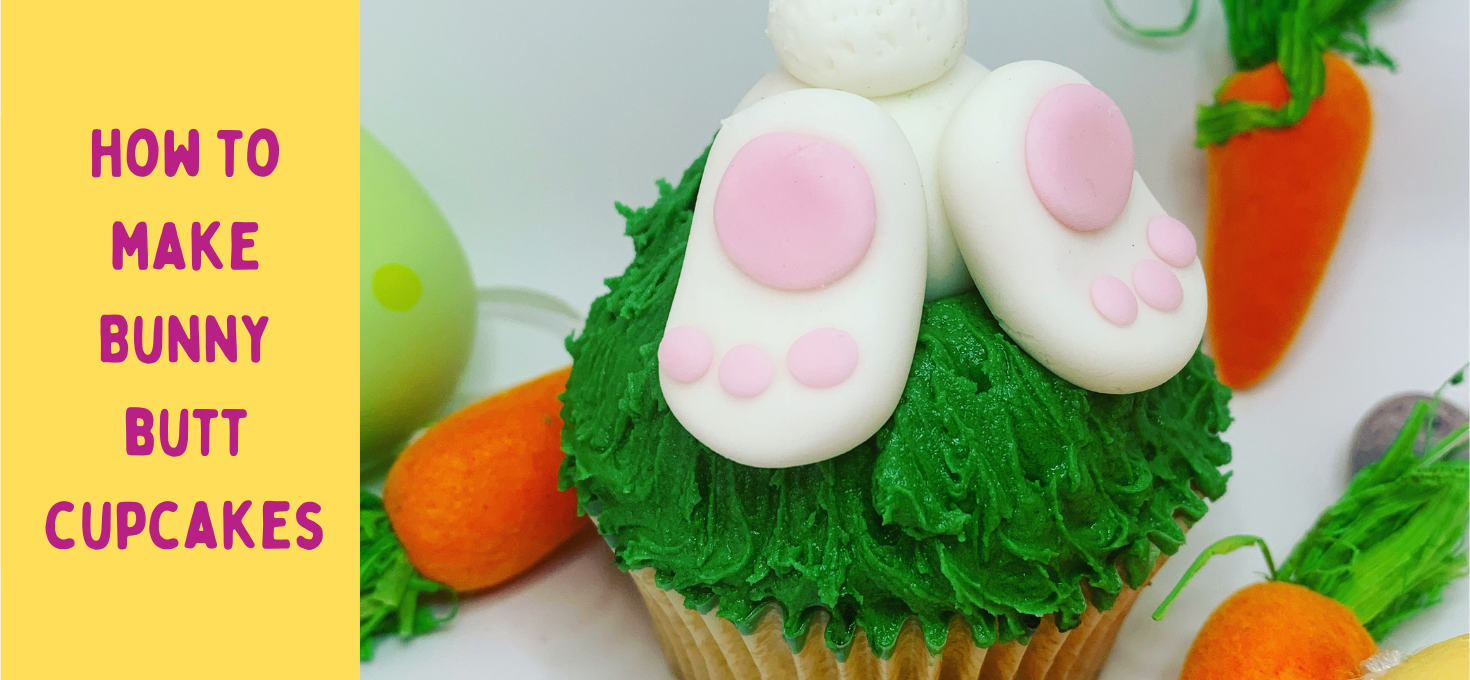
I used to have a celebration cake shop and tea room, where I would run cupcake decorating workshops and parties. With Easter just around the corner, I thought I would share with you my very straight forward, no-specialist-equipment-needed tutorial to make these super cute ‘Bunny Butt Cupcakes’.
Disclaimer: There are links in this post, marked with *, that will show you some of my favorite products and where you can buy them. If you do buy from these links I recieve a small commission, at not extra cost to you. I will only show you products I use and think are worth sharing – the referral fee is just a little bonus.
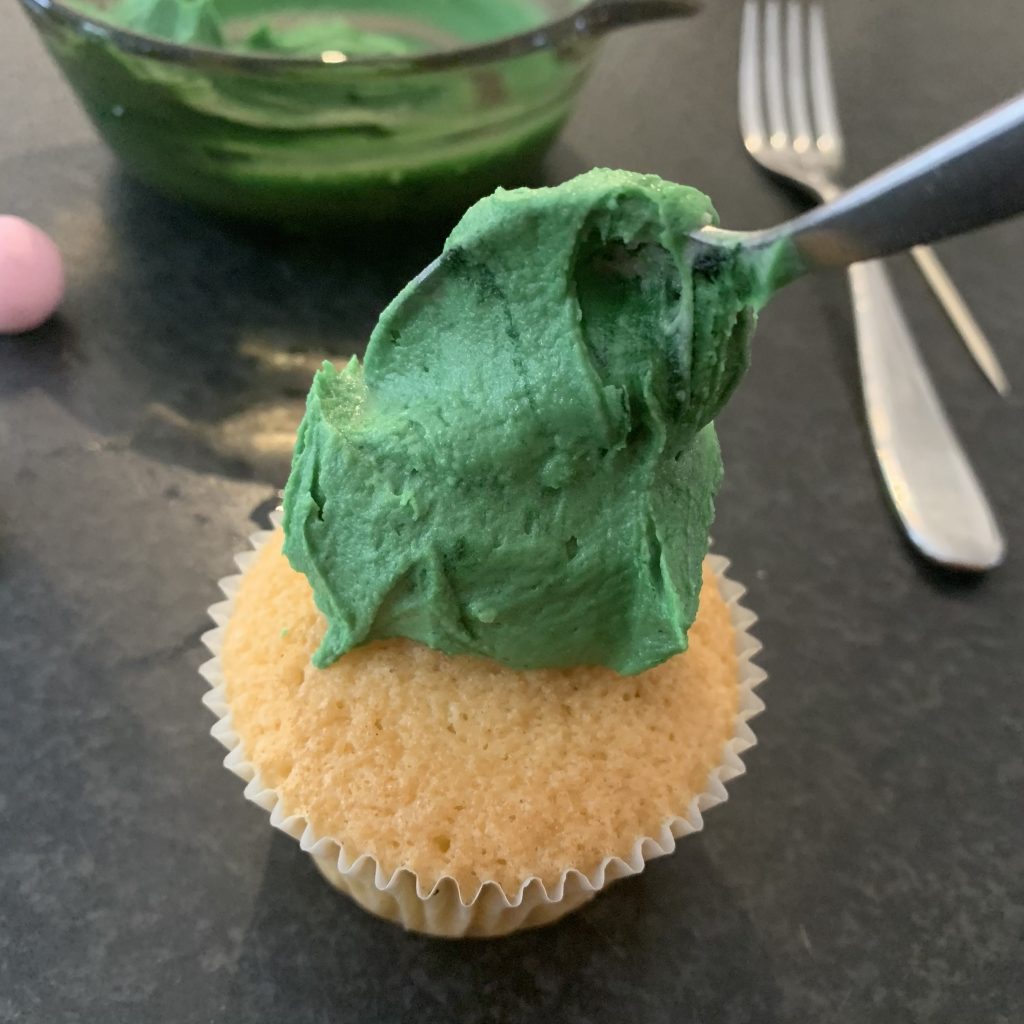
Before you begin, bake your favourite cupcake recipe (or try this Easy Vanilla Cupcake Recipe) and allow them to cool, mix up your buttercream (recipe coming soon) and dye it green. You want it to have a consistency a bit thicker than toothpaste so that it holds it’s shape if you run a fork through it.
I use Rainbow Dust Pro-Gel food colours as it gives a lovely, strong colour without changing the consistency of the buttercream. Leaf Green was used for these cupcakes. *
To make these Easter cupcakes you will need:
- Cupcakes
- Green Buttercream
- Spoon
- Fork
- Toothpick
- A golf-ball sized piece of white icing per bunny
- A malteser sized piece of pink icing per bunny
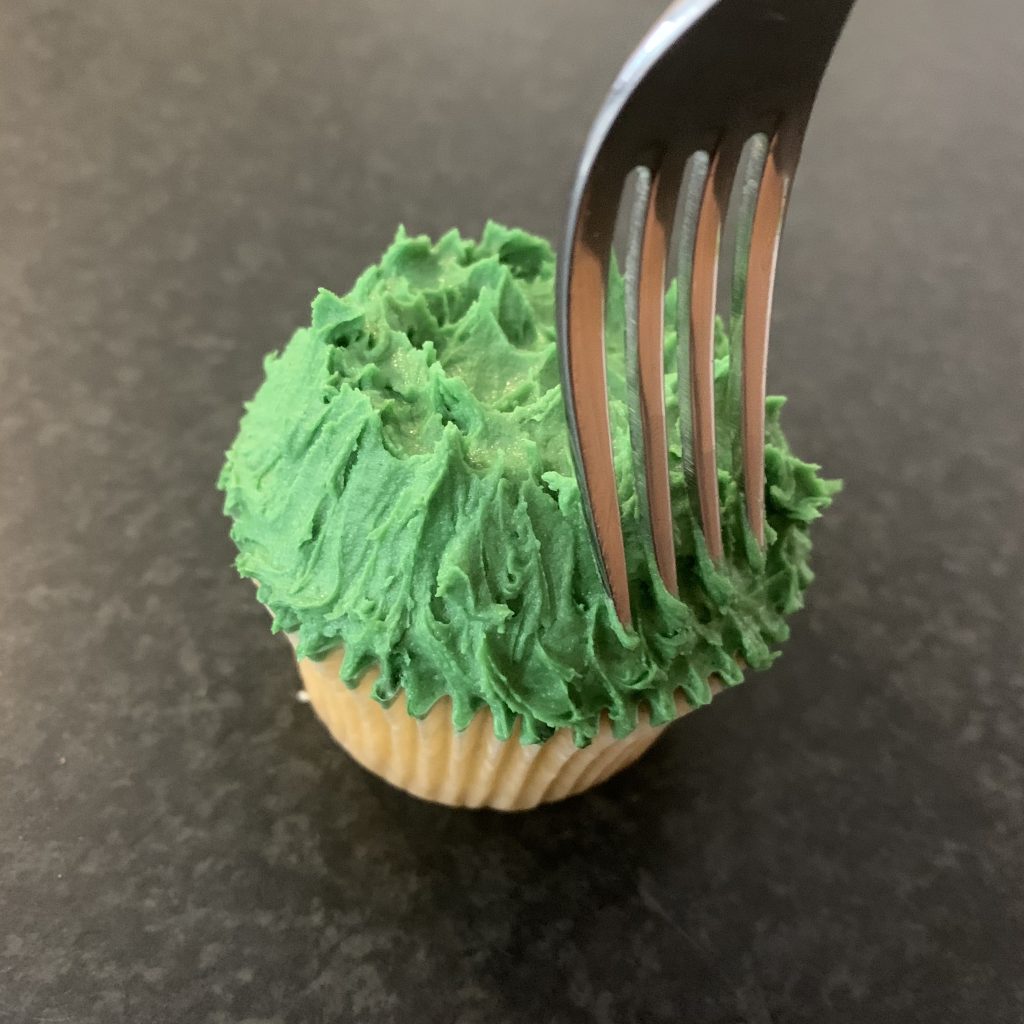
1 . Pick up your cupcake and dollop on a large spoonful of your buttercream. Then using the back of the spoon spread the icing all over the cupcake until it is all covered. You want to have a nice thick layer of buttercream.
2 . Take your fork and with the prongs facing down press it into the sides of the buttercream while sliding it up to make lines or grass textures all around the outside edge of the cupcake.
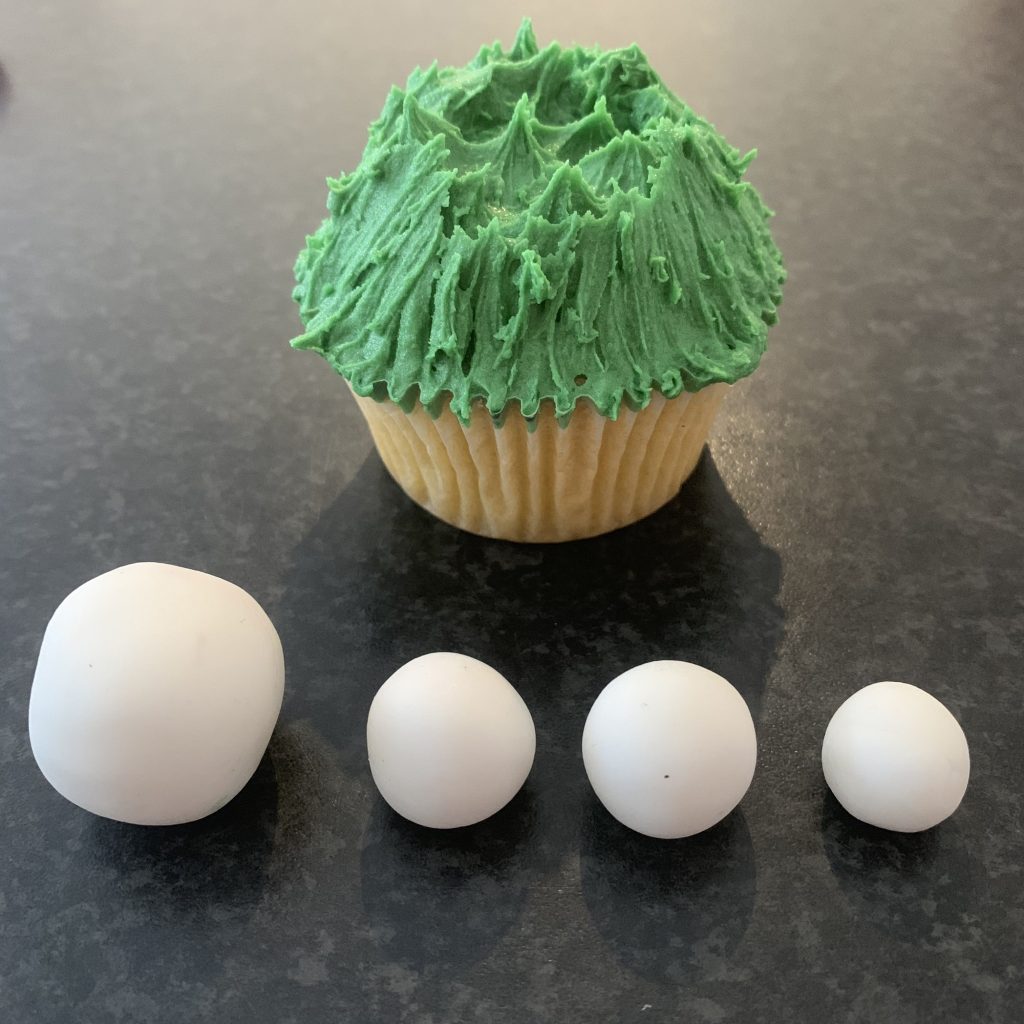
3 . Put your cupcake to one side, and wash your hands if they are a little bit green from the buttercream. Make sure to dry them properly or this next bit will get REALLY sticky! Take your white icing and break it into 4 pieces. You want 1 large ball, 2 medium balls and 1 small ball.
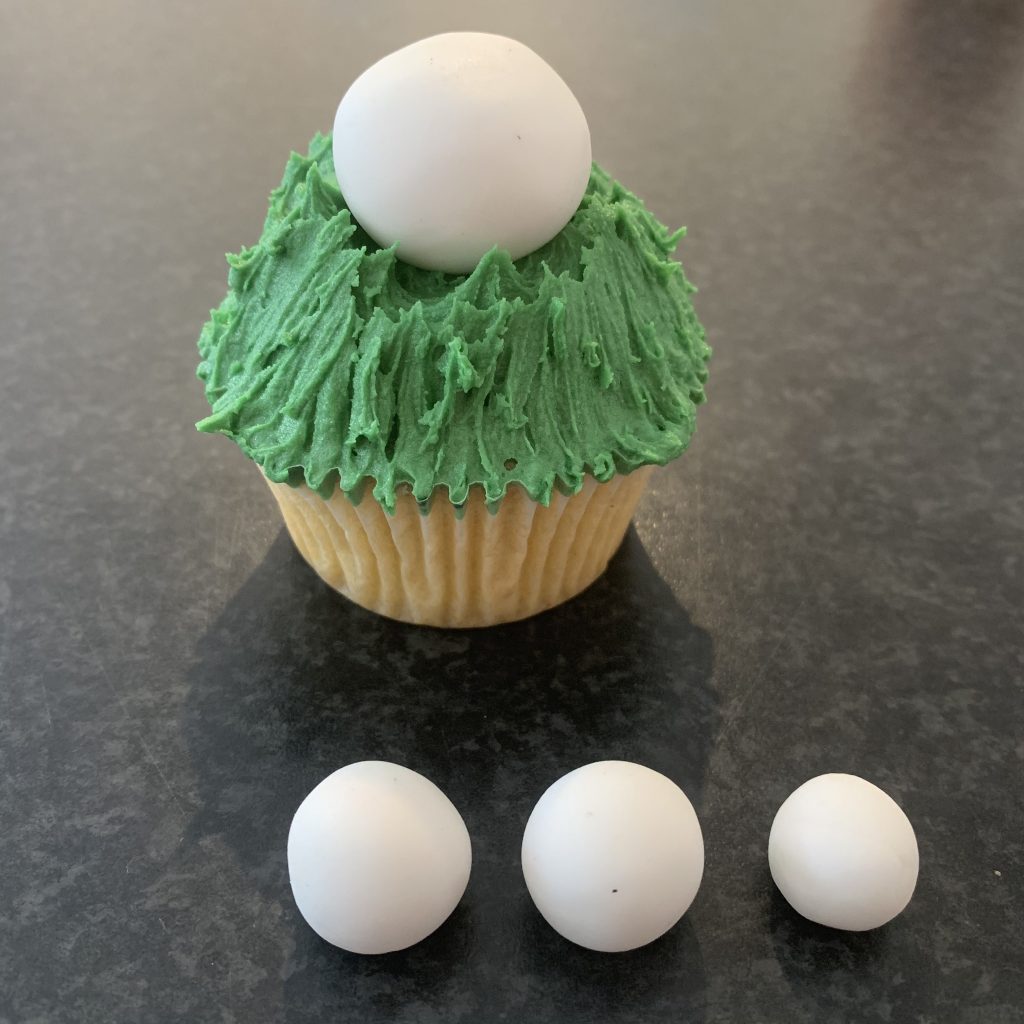
4 . Take your large ball and place it on top of your cupcake, right in the middle!
5 . Take the small ball and place this on top of the large one. If it doesn’t stick dab a TINY bit of boiled water onto one of the balls and gently press together.

6 . With your cocktail stick, gently make little dents over the small ball to make it look a little bit fluffy, just like a bunny’s tail.


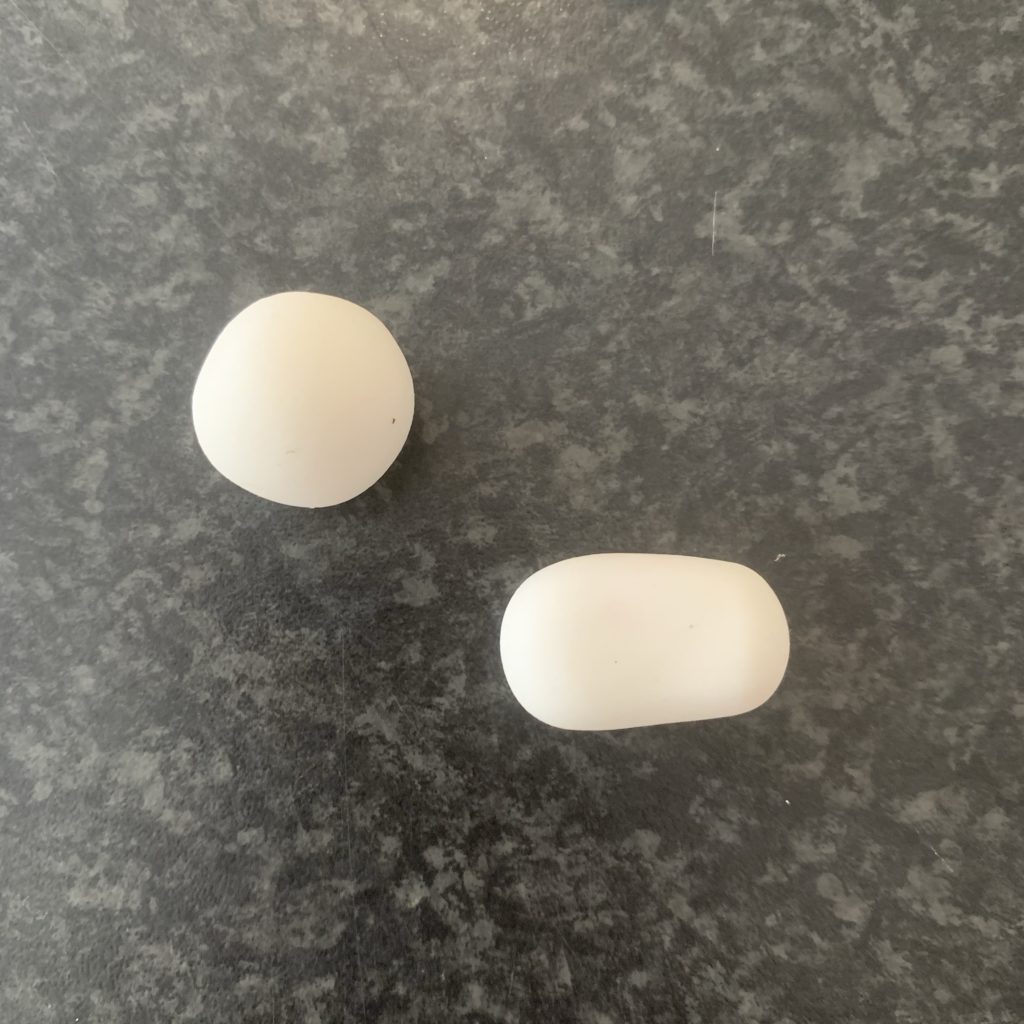
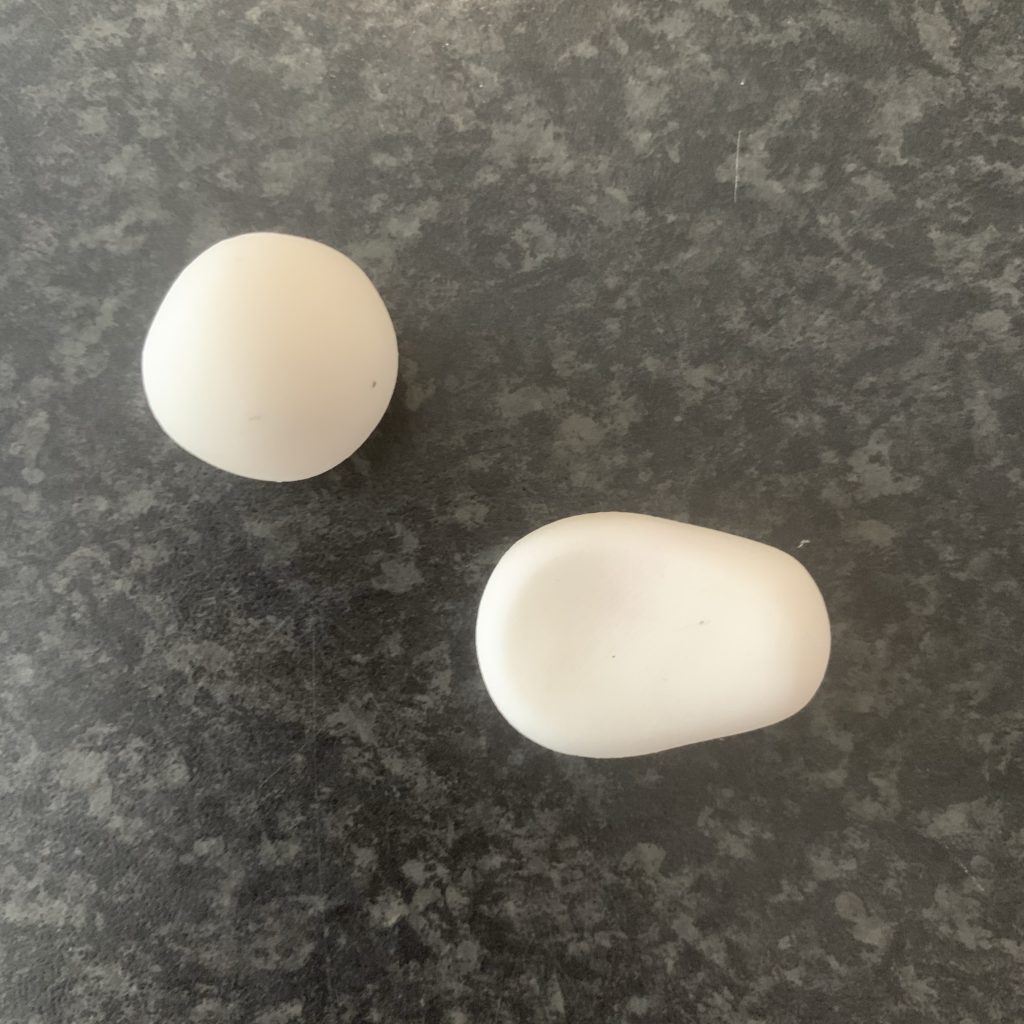
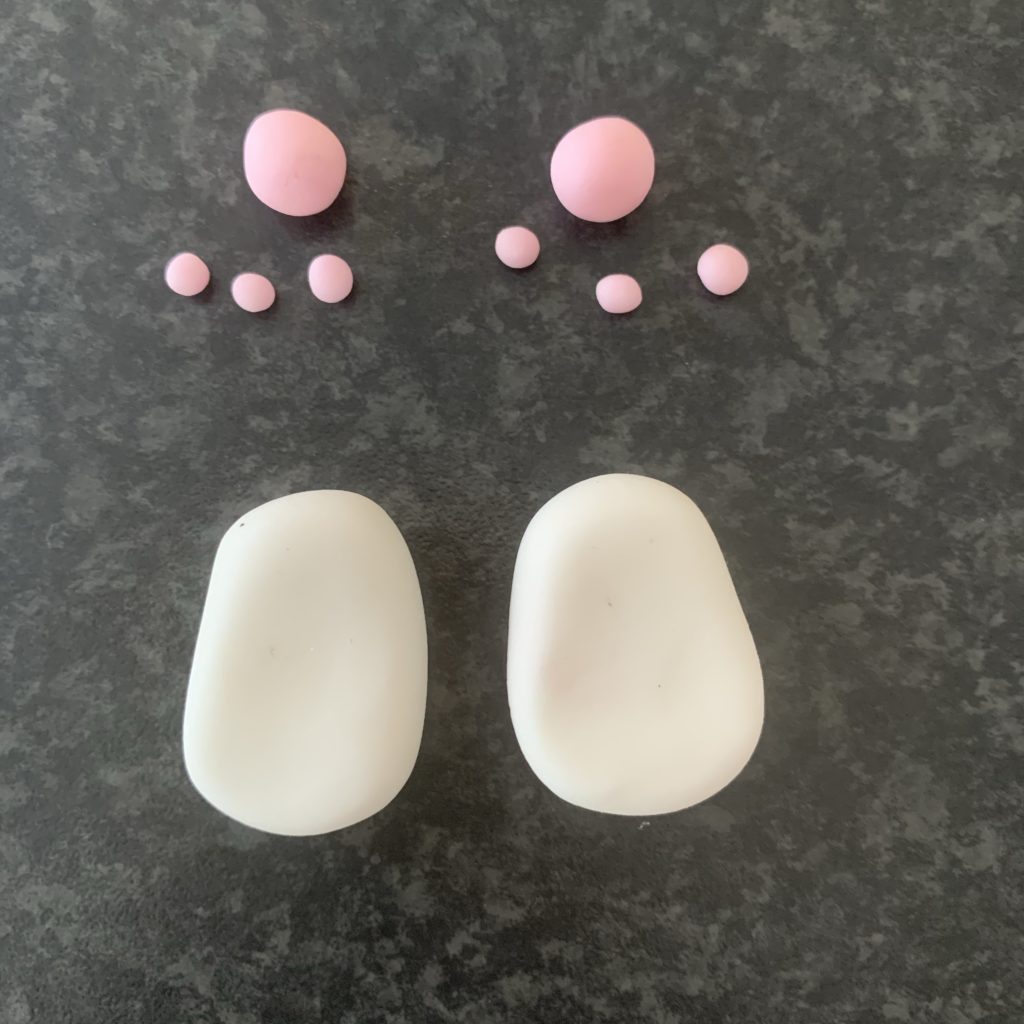
7 . Now to make the bunny feet. Using the 2 medium balls, gently roll them into a small cylinder shape, then press down with your thumb on one end to make the shape shown in the pictures below.
8 . Next take your pink icing – you probably won’t need all of it – and altogether you need to make 2 balls about the size of a raisin and 6 small balls the size of cake sprinkles.
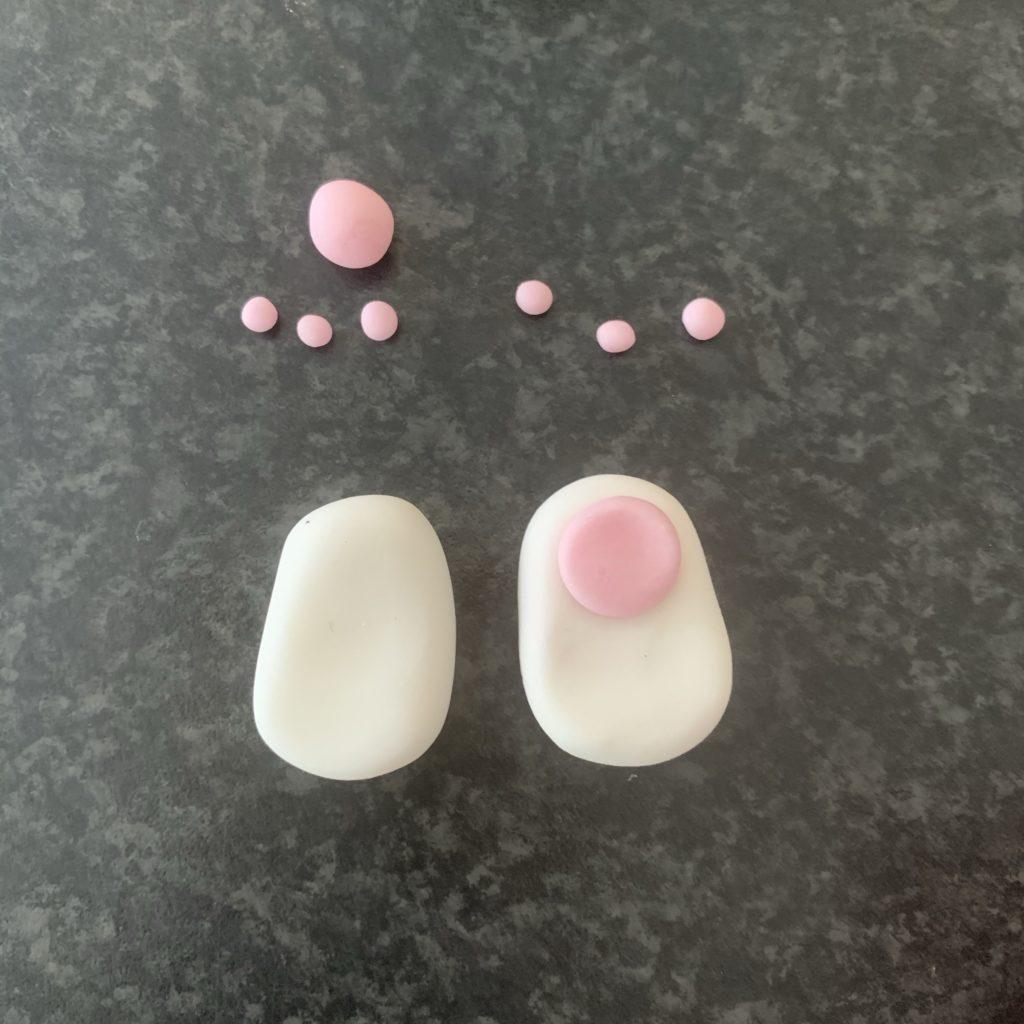
9 . Take the larger balls and press them onto the smaller end of the foot. Again, dab on a tiny bit of water if they won’t stick. Then take the smaller balls and press them onto the larger end of the feet for the toe pads.


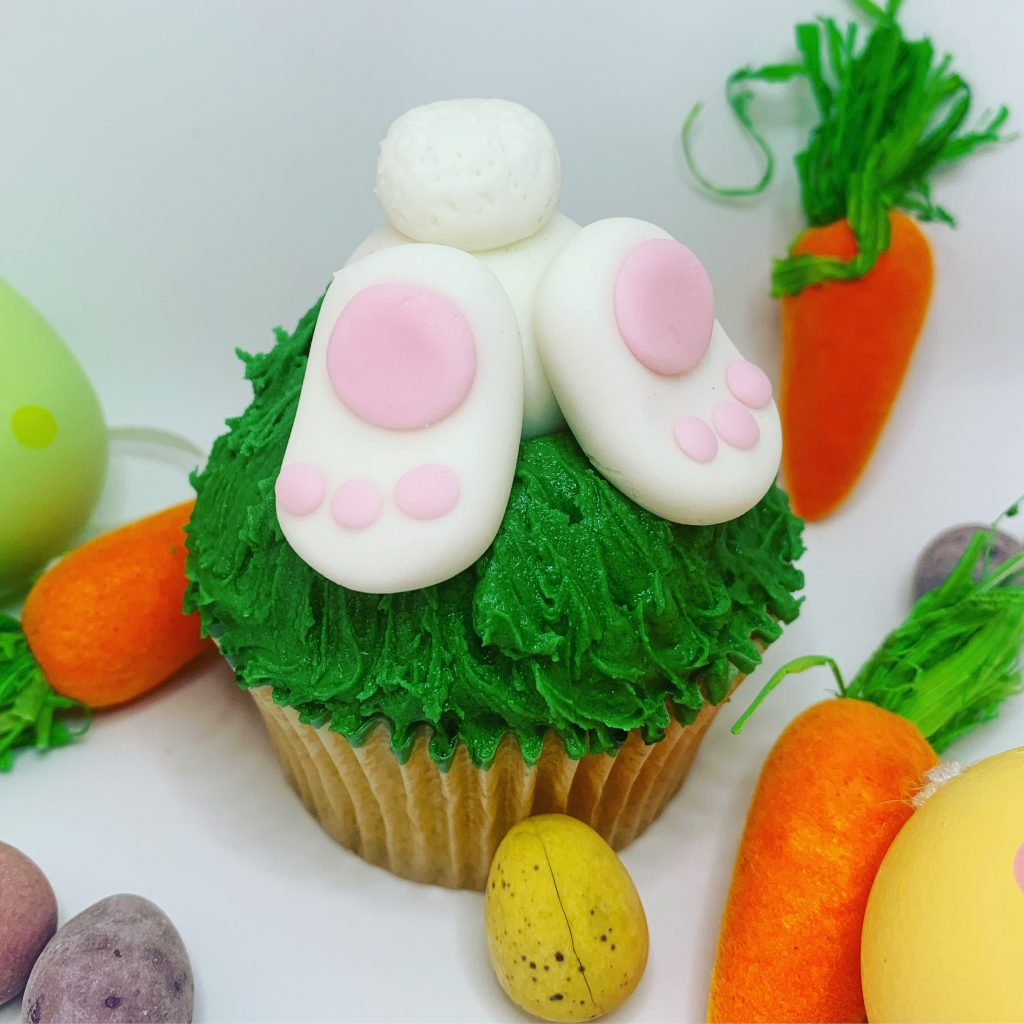
10 . Finally, take your feet and stick them to the larger ball on top of the cupcake. Make sure the smaller ‘pads’ on the feet are towards the cupake and the larger ‘pads’ are towards the tail.

I hope you’ve enjoyed this quick and easy Easter Bunny Cupcake tutorial. I would love to see how you get on, so leave me a comment below and tag us (@onmydiningtable) on your favourite social media platform with your creations.