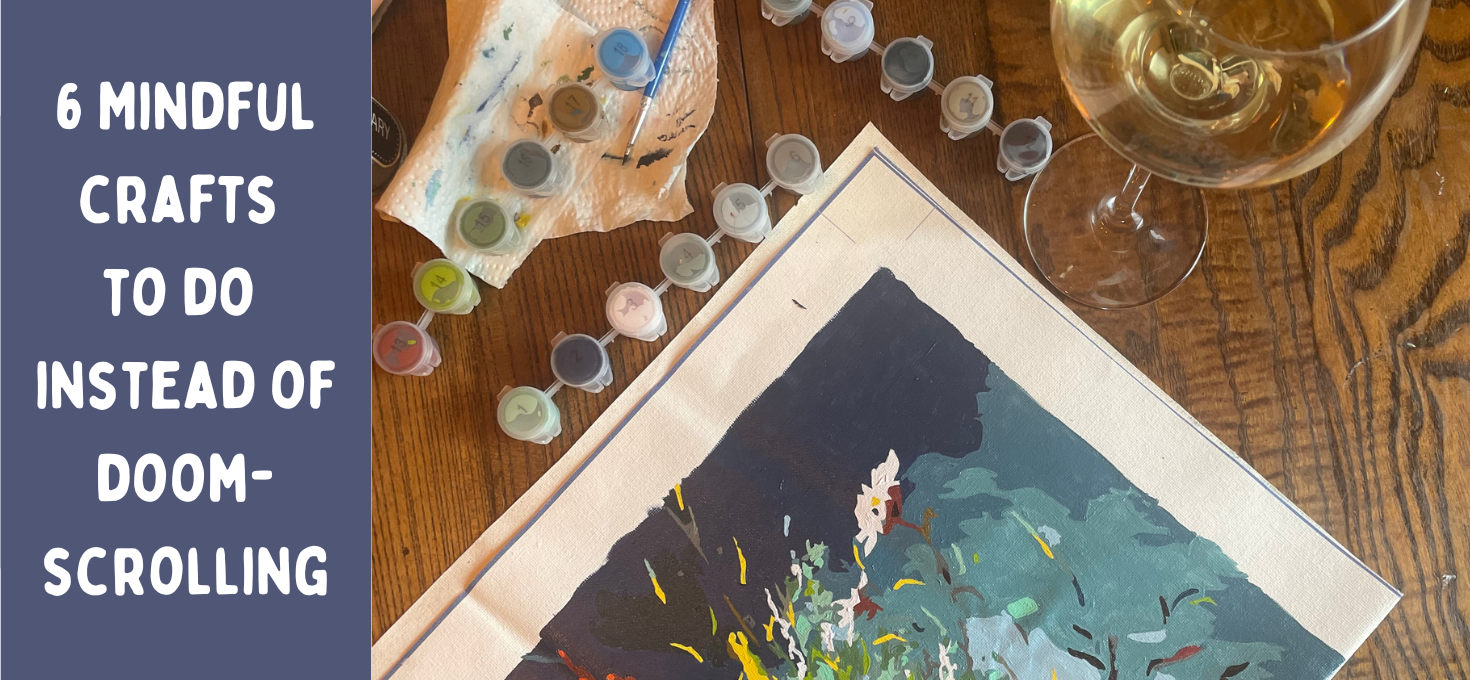
I love a craft. I also enjoy a good doomscroll, if I’m being completely honest, but sometimes I need reminding to put the phone down and do something creative instead. I have tried a whole host of crafts and creative endeavours over the years and while some, like knitting, have a steep learning curve to get started and need varying degrees of concentration to create a finished item, some have been designed to take a lot of the mental load away so you can just get stuck in. Here are six of my favourite go to activities.
This blog post contains affiliate links, this means if you click on a link and go on to buy the product, I will get a small commission, but you will not be charged a penny more. Read the full disclosure.
Painting by Numbers
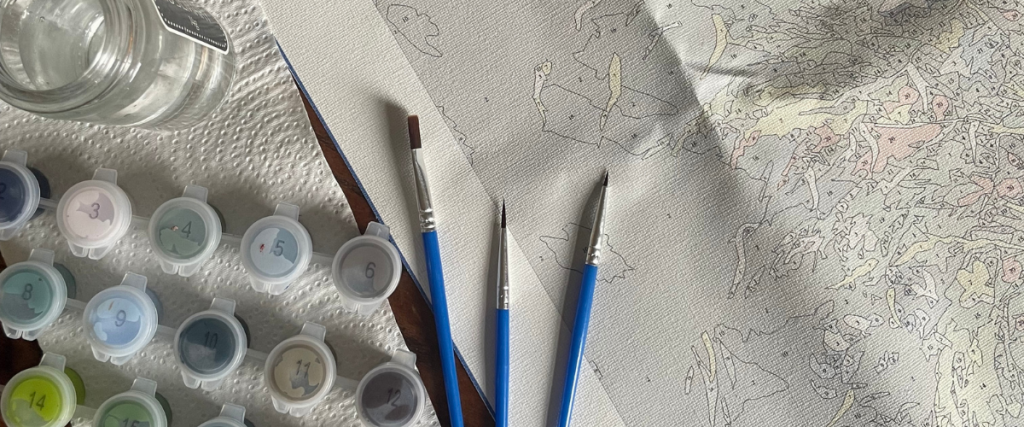
Painting by numbers is my most recent crafting endeavor. It gives me a chance to be creative, but not get distracted by too many different ideas, and while it needs concentration to paint within the lines, it takes away any decision fatigue. Once you have selected the picture you wish to paint and, thanks to the huge range now available I’m confident you’ll find one to suit your style. The rest of the decision making is taken out of yor hands. Everything comes included, you’ll just need some water and maybe a rag or kitchen roll to clean your brushes. You don’t need to think about which colour to choose, or where it goes. With the numbering system, you don’t even have to decided where to start, just pop open paint number 1 and get started.
These are the current painting by numbers projects on my wish list: Fruit & Vegetable Shelf, French Bulldog (who looks just like Ted) & this Succulents Shelf.
Diamond Painting
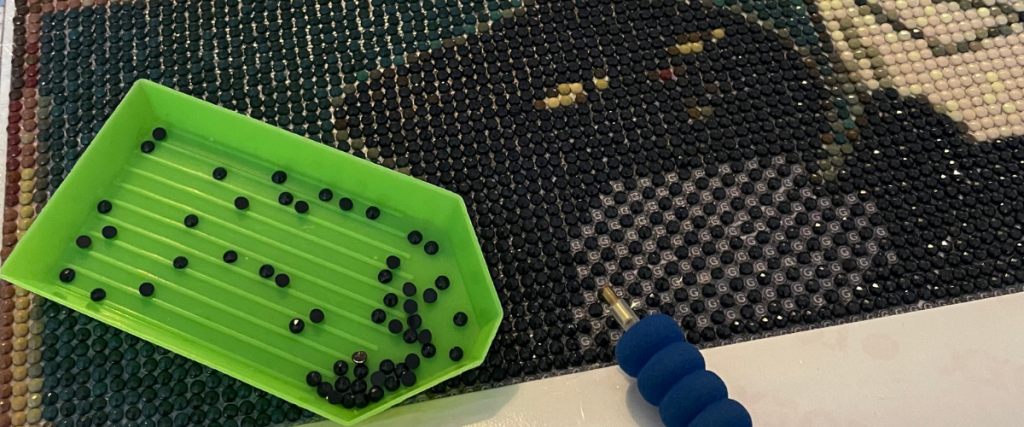
Similar to painting by numbers, all the guesswork and decision making has been taken out of Diamond Painting too. You recieve a pre-printed canvas with a sticky coating, a range of flat backed beads (or diamonds), an applicator tool, some wax (that’s used to pick up the diamonds with your applicator) and a little tray to tip your beads onto. It’s easy to get started. You peel back a section of the plastic covering the canvas, match the diamond colour to the symbols on the sheet and pour a few into your tray. Using the applicator filled with a touch of wax, pick up the diamonds one at a time and apply to the designated dot on the picture. You may want to do a little bit of getting organised when you first open the pack by decanting the diamonds into plastic boxes to keep them safe, but this is a personal preference, and you can easily seal the bags with sellotape if you take care when opening them. Again there are plenty of designs to choose from and at pretty reasonable prices too.
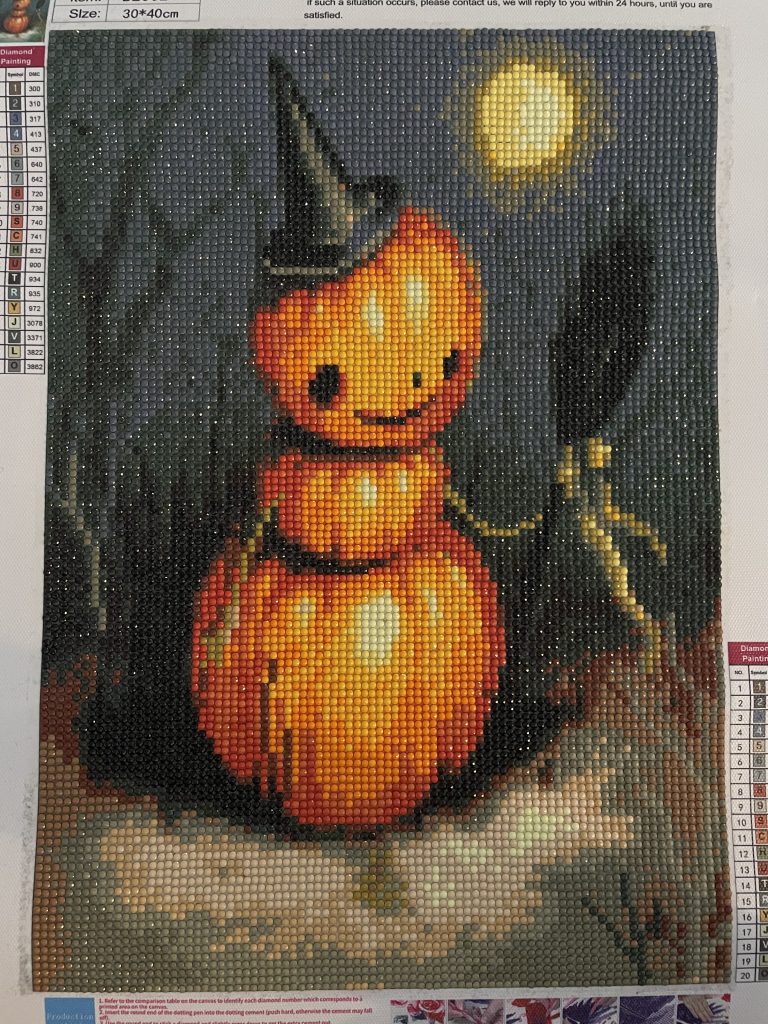
I completed this Hallowe’en Pumpkin a few years ago, and it comes out every September to go up on the wall. I’ve currently got my eye on this pack of 6 breakfast themed prints, which would look fabulous in my kitchen.
Perler Beads
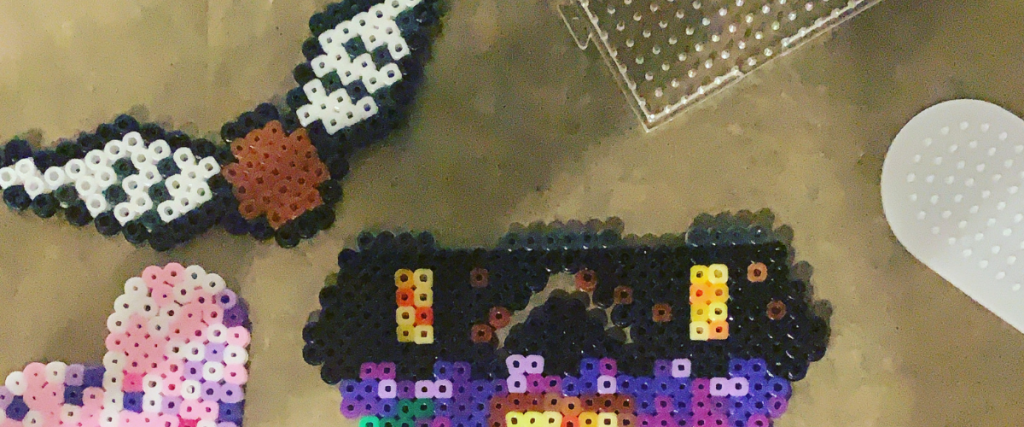
Perler beads, Hama beads, fuse beads, ironing beads – they have a number of names and I loved these as a child. I did buy them for Evie to try, but got sucked back into it myself. There are plenty of patterns available online, and you could even use cross stitch patterns or any pixel art. As a beginner you could be a bit limited by the size of the board you get started with, but coasters, keyrings, flowers are all small projects to get you going. You can get starter kits to have a play with with a mix of colours, or if you have a specific project in mind you can buy bags of beads in indivdual colours to get the palette you need. A pair of tweezers may come in handy, and you will need an iron and some baking paper to fuse the beads when you’re ready.
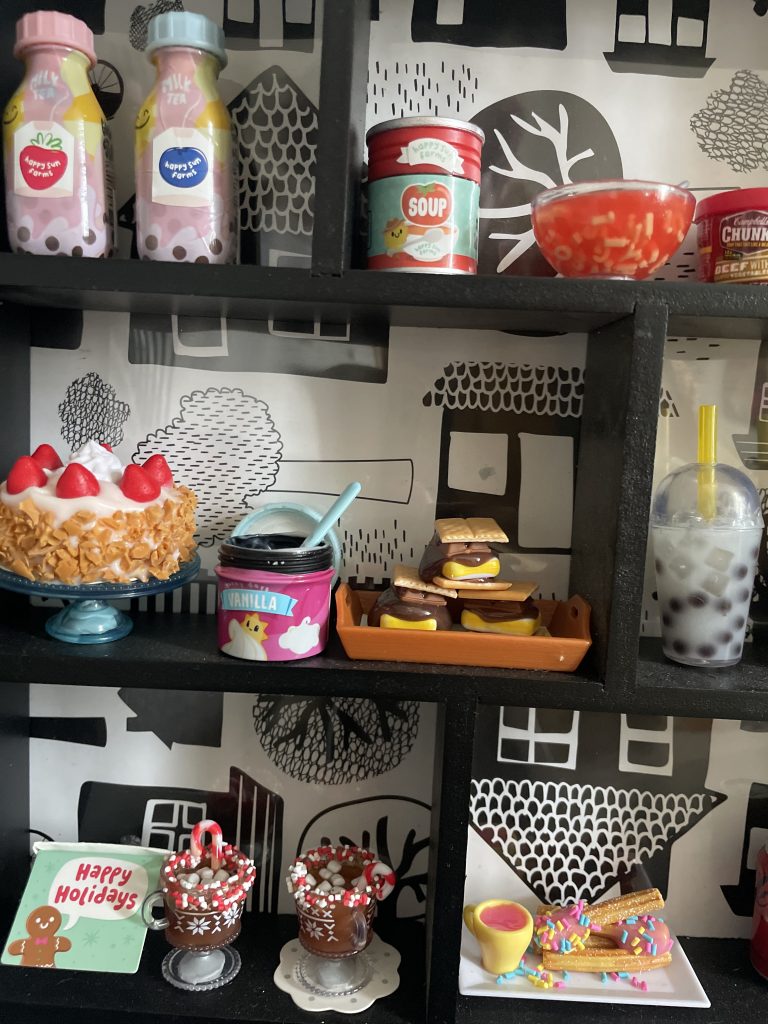
Mini Food Resin Kits
I came across MGA’s MiniVerse a few years ago, and I love anything mini and food related, so these were right up my street. Each ball contains a mini kit of a food themed item (a cake, sushi, soup to name a few) plus some UV resin for you to make up. There are a number of different ranges, including Disney themed snacks, cafe and diner series‘, a lifestyle series with plants and several more. But be warned, these can get addictive! While the resin will set with the rays of the sun in time, I would suggest getting a UV light to speed up the process, plus living in Wales, we can’t always rely on the sun to appear for long enough!
Bracelet Beading
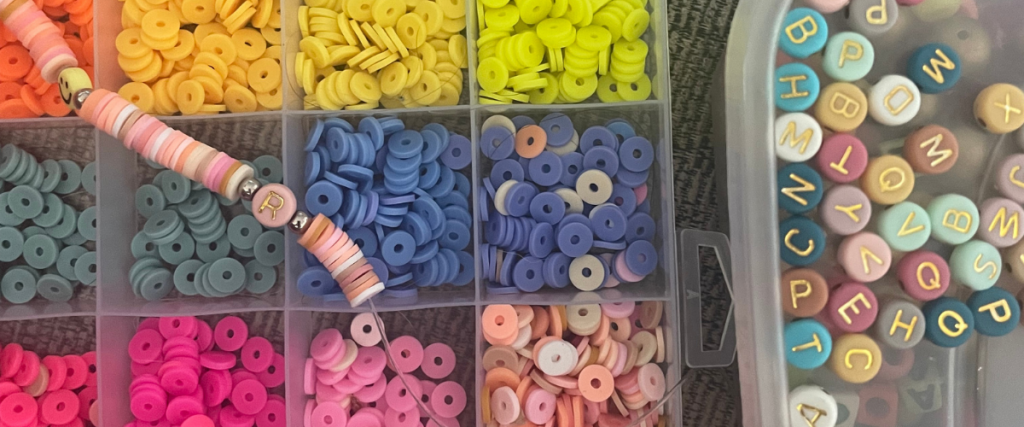
Get yourself some elasticated string and a pack of beads and make yourself a bracelet, anklet or ring. Add charms or get letter beads to include affirmations or choose your colour to match an intention. Make them for yourself or as a gift to a friend. If you use elasticated string, you don’t need any clasps, but make sure you measure well and maybe get some superglue to secure your knot. Little tip – if you can glue the knot to the inside of a bead, no-one will be able to see it.
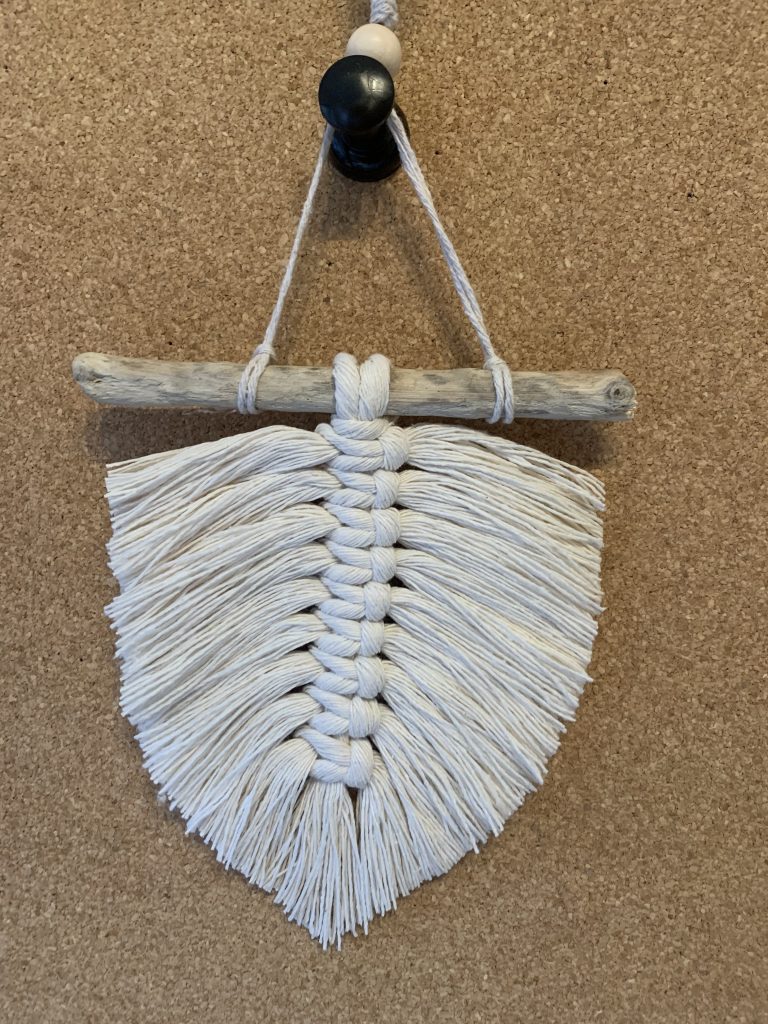
Macrame Leaves
If you ever made a friendship bracelet as a child, you’ve done macrame. It is the art of making knots. One of my favourite macrame projects, that I can sit on the sofa and make, is macrame leaves or feathers. These can then be turned into keyrings or bag charms or wall hangings. Simply cut strands of macrame cord and knot them to a central piece, brush out and trim to shape. Shorter rounder ones look more like leaves, longer, thinner ones become feathers.
I’ve added a few tutorials for some of these projects to my Mindful Crafting pinterest board to give you some inspiration.
I hope this gives you some inspiration to put down the phone and try something a little different. I’d love to know which projects you’ve tried or what other mindful crafts you would add to this list.